
E & D Trading • Technical Resources
How to Update Pyramid Platinum Bill Acceptor Firmware
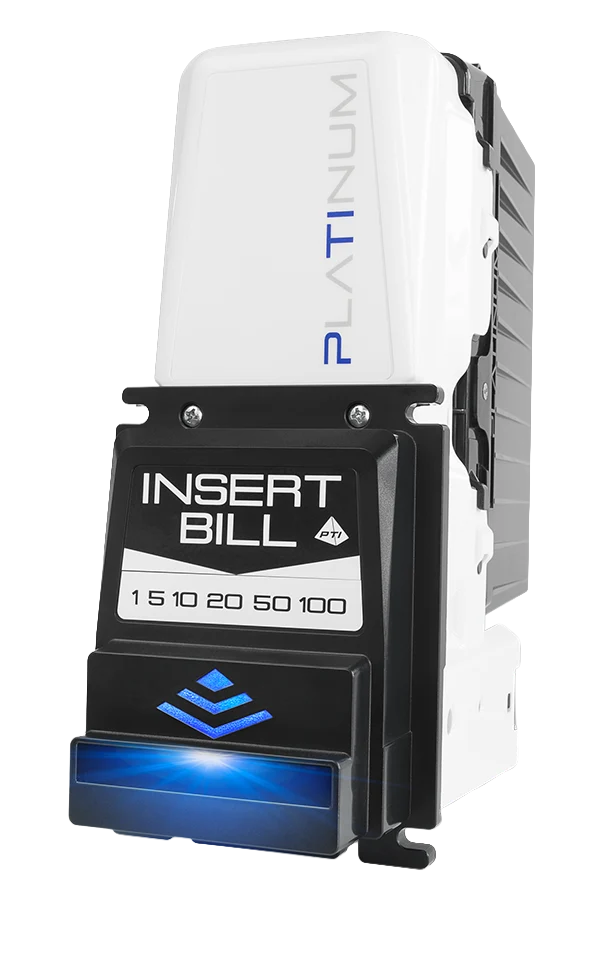
Two supported ways to flash new firmware onto a Platinum PT1 bill acceptor: from a Windows PC with Platinum Tools, or from a USB flash drive plugged straight into the unit.

The Pyramid Platinum bill acceptor has no DIP switches and no configuration cards. Firmware and settings are loaded electronically, and once loaded they are stored inside the unit and survive power loss. That makes updates quick, but it also means you need the right file and the right steps. This guide follows Pyramid's own Platinum Firmware Update Instructions and the Platinum Installation & Operation Manual.
Before you start
-
The firmware file. Platinum firmware files use the
.ptixextension. Get the correct file for your currency and application from Pyramid support or from us. - Power. The acceptor must be powered for either method (12 VDC, 120 VAC, or 24 VDC MDB depending on your model).
- For the PC method: a Windows PC, the free Platinum Acceptor Tools application, and a USB cable with a Type-A end (PC) and a Type-B end (acceptor).
-
For the flash drive method: a USB flash drive formatted
FATorFAT32.
Method 1: Update firmware from a PC
This method uses two USB connections: the standard Type-A port on your PC and the USB Type-B device port on the rear of the Platinum.
- Using an external power source, power on the Platinum bill acceptor.
- Connect the USB Type-A end of the PC flash download cable to an open USB port on your Windows PC.

PC flash download cable. The USB Type-A end (boxed) goes into the PC. - Connect the USB Type-B end of the same cable to the Type-B port on the back of the Platinum.

The USB Type-B device port on the back of the Platinum. - Open Platinum Tools by double-clicking its desktop icon.
- Confirm the connection. The main screen shows the current firmware version, the connection status, and the active COM port.

Platinum Tools home screen. The status bar shows the mode, firmware version, currency, and serial number. - Click the Firmware button.

Open the Firmware screen from the menu on the right. - On the Firmware screen, click Browse.

The Browse button on the Firmware screen. - Go to the folder holding your
.ptixfirmware file, highlight it, and click Open.
Selecting the .ptix firmware file. - Click Flash Update to start the installation.

Click Flash Update to install the firmware. - Wait for the Update Complete message.

The Update Complete confirmation.
Method 2: Update firmware with a USB flash drive
No computer is needed at the machine. The Platinum has a standard USB Type-A port on the back for a flash drive, and its AutoRun feature starts the update automatically.
- Make sure the flash drive is formatted
FATorFAT32. - Copy the single Pyramid firmware file (
.ptix) to the drive. It must be the only*.ptixfile on the drive. - Insert the drive into the USB flash drive port on the Platinum you want to update. Recognition can take a few seconds; the rear diagnostic LED then gives feedback.
- AutoRun gives a short LED signal, resets the unit, and starts the firmware update. When it finishes, the unit resets on its own.
- If the unit does not reset and shows an error, remove the drive, reinsert it, and try again.
Reading the rear LED with a flash drive inserted
| Rear LED | Bezel LED | Meaning |
|---|---|---|
| White, rapid flash | Rapid flash | AutoRun started |
| Green, rapid flash | 1 flash, then pause | Firmware update from the .ptix file on the drive |
| Blue, rapid flash | 2 flashes, then pause | Configuration update from a .plat file on the drive |
| Purple, rapid flash | 3 flashes, then pause | Exporting diagnostic data to the drive |
| Alternating red and blue, rapid | None | Downloading firmware (bootloader mode). Do not remove power. |
| Red, rapid flash | Rapid flash | Error. Remove and reinsert the drive. |
Choosing the action manually with the push button
If a drive holds more than one kind of file, or you want to export diagnostics, you can override AutoRun. Hold the rear diagnostic push button while you insert the drive to enter the menu. Press the button to cycle through the options, then hold it for 3 seconds to select one: green = flash update firmware, blue = load the active configuration file, purple = export diagnostic data.
After the update
A solid green rear LED means the Platinum is working and ready. Insert each bill denomination you accept and confirm the machine credits it correctly. If you also need to change settings, see our guide on how to load a configuration file on a Pyramid Platinum.
Need a firmware file or a replacement unit?
E & D Trading stocks the Pyramid Platinum line and can help you pick the right firmware for your game or kiosk.
Shop the lineup: PT1-LB1-USA (12V DC), PT1-LB3-USA (120V AC), and PT1-LB4-USA (MDB 24V DC), or browse all Pyramid Platinum bill acceptors.
Images courtesy of Pyramid Technologies. Sources: Pyramid Technologies, Platinum Firmware Update Instructions; Platinum Installation/Operation Manual, Rev. C; Platinum Configuration & Firmware quick start. For factory support, contact support@pyramidacceptors.com.